This is the first year I have harvested my yeast for reuse. Since I splurged on some liquid yeast from White Labs and Omega, I thought it would be an interesting experiment. I also have an idea about trying to evolve a yeast using selective pressure through bottom cropping of early attenuating colonies. This also fits with experiments I am doing to try to arrest fermentation and create natural residual sweetness in some hard ciders. You may remember that I currently avoid using preservatives like sulfites and sorbates. My approach is to try to achieve some residual sweetness without needing these additives.
You can say that I am working both ends of the process. On the front end, I am trying to find a yeast that will stop fermenting before full attenuation. This would generally be from yeast that have a relatively low alcohol tolerance. I’m not talking 2-3% ABV but more like 6-7% ABV. On the back end of the process, I am trying to find easier and repeatable ways to stop fermentation through nutrient deprivation and/or yeast reduction. This is like the keeving process without adding the PME. Keeving is a method that removes nitrogen and other nutrients required by yeast so your fermentation stalls (see my stuck fermentation tip), Overall, there are several reasons you may want to harvest and reuse your yeast.
- Expense: Some yeast can be quite expensive. Harvesting and reusing the yeast allows you to spread that cost over a lot larger volume of hard cider.
- Flavor Performance: White and Zainasheff indicated in their book, Yeast (1), that it could take three generations or reuse of a yeast to achieve its optimal flavor profile.
- Time: Have you ever watched several days tick past and nothing seems to have changed in your fermenter? Dry or liquid yeast added directly to your juice may take days to build up the colony enough to actually see any activity. If you are not using sulfites, wild organisms may be building as well. This can impact your flavor. Reusing a fresh and healthy batch of yeast means your fermentation will start sooner. This reduces the potential influence of wild organisms.
- Availability: If you have a wild yeast or even a known strain that is hard to regularly obtain, reusing your yeast may be the only option you have to reproduce that specific flavor profile. It also might be the only way for you to create a unique flavor profile that is only you if you are using wild yeasts.
- Evolution: Yeast will evolve. If you put pressure on them, they will evolve more rapidly. Just like the flavor profile is expected to be fully developed after 3 generations, it is recommended to replenish yeast cultures after 10 generations (1). I believe this is because you can to see evolutionary changes that might start impacting the flavor profile. Reusing yeast while applying selective pressure is a way to evolve yeasts in a new direction.
The other good thing about reusing yeast is that it is not overly complex. If you can ferment hard cider, you have the basic tools needed to reuse yeast. With a few more tools, you may even be culturing new strains, but that is for a future discussion. Here is the list of items that you need to harvest your yeast.
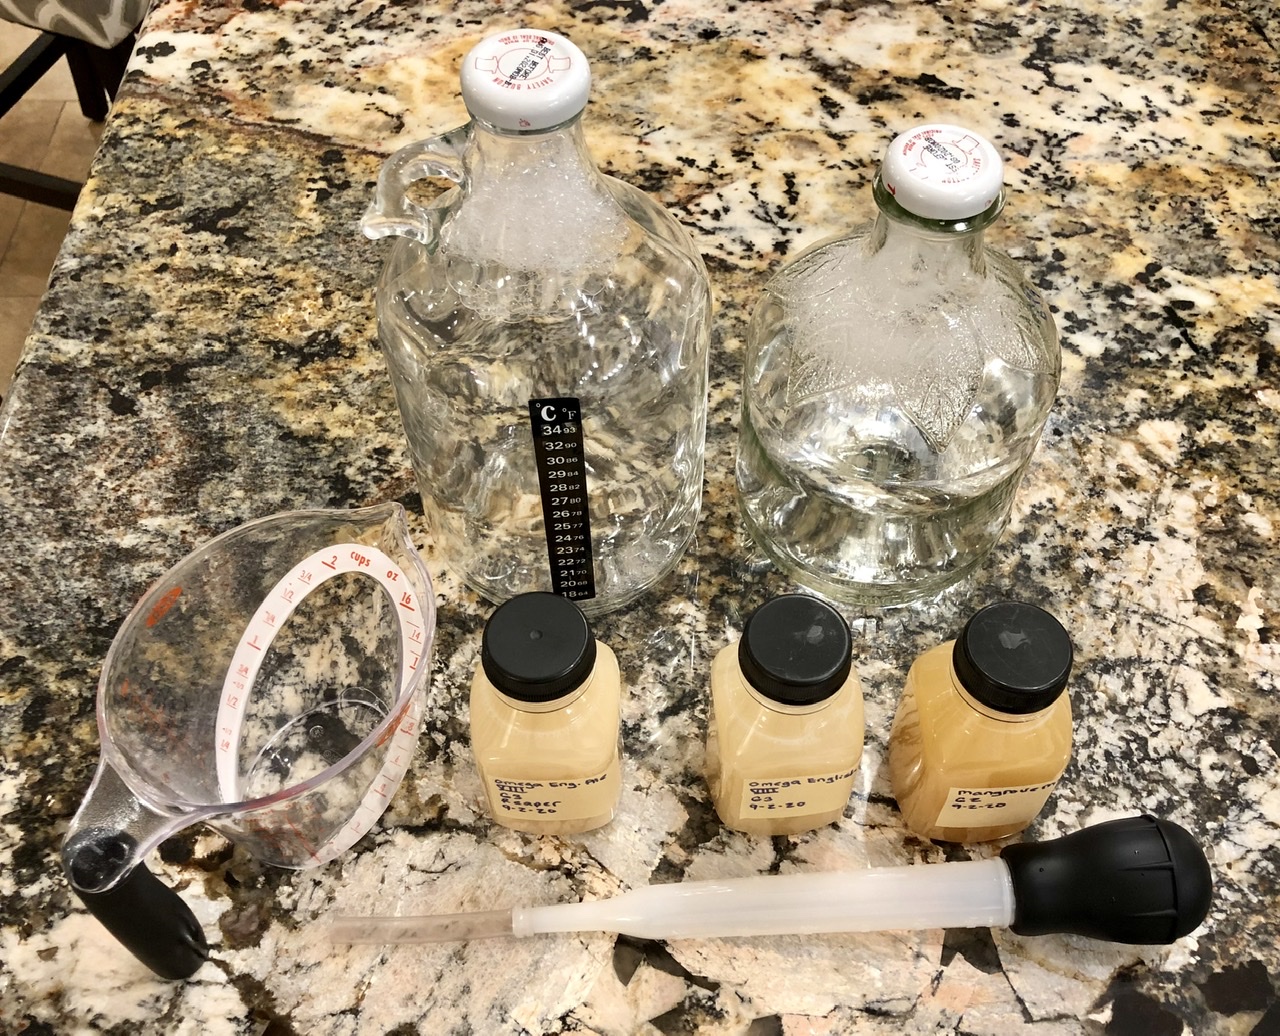
Yeast Harvesting Equipment:
- Sanitizer
- 2 Glass or plastic bottle with a lid – usually about 1/5 of the size of your batch
- Funnel or Measuring Cup
- Siphon tube or turkey baster
- Cool filtered or sanitized tap water – enough to fill your bottle
Harvesting Process:
- Sanitize the bottles, lids, siphon/baster, funnel, and water.
- Rack your newly fermented cider off the lees into your normal sanitized secondary storage container. This should leave you with a little cider, a lot of sediment, and a layer of creamy colored yeast. You may not see the yeast because of all the sediment.
- Add the cooled filtered/sanitized water to the fermenter and swirl it around. You may see a cake of the creamy yeast stuck to the bottom. You want to get this suspended in the water.
- Pour this yeast and sediment slurry into your sanitized bottle. Attach the lid and vigorously shake the slurry.
- Let the slurry start to settle. The sediment including dead yeast, apple particles, and others will settle out. Also, you might see some lighter elements floating. What you want is the middle section, which is the active yeast suspended in the water.
- After about 7-10 minutes, the stratification occurs. Decant the liquid in the middle, which has all the good yeast suspended in the water. I find a sanitized turkey baster works well to extract the yeast slurry but you can also try siphoning it.
- Place the decanted liquid yeast slurry into the second sanitized bottle. Loosely cap the bottle and place in your refrigerator. The sooner you use this, the better. It is recommended to be used in one week or two weeks maximum.
- You should set it out several hours before you need it to allow it to warm to room temperature. You can do a starter with this but that would only be needed if it has been stored for an excessive amount of time and you are worried about yeast loss. Otherwise, you can suspend the yeast again by shaking it and pour this directly into your new batch of juice. Note, you might want to reduce the water in the jar if you have a lot of it. You can use the sanitized turkey baster again to do this leaving the yeast at the bottom.
It is really that simple. You should notice the fermentation process start sooner unless the yeast slurry is very old or you are using it in a batch that is significantly larger. In either of those cases, create a starter for the yeast to increase the amount of healthy cells.
(1) White, C. And Zainasheff, J., Yeast: the practical guide to beer fermentation, 2010.
Did you enjoy this tip or reading my other articles? Want more tips or information on making and enjoying hard cider? Follow me and get a copy of my book. I don’t just write about making hard cider. I write about how hard cider can help you better experience life: making something, sharing it with others, and being part of a community. Cider can help you do all of these things.