This is the second part in my three part tip on developing your method for making hard cider. My focus is on the process versus the ingredients. I will highlight ingredients, but my goal is to help you understand the processes and equipment involved in making a hard cider that you enjoy. In Part 1, I highlighted the three top areas that can shape how you make your hard cider. Those areas are Sweetness, Flavor, and Carbonation, I provided details about how Sweetness can impact your process and the equipment you would need depending on what your goal was for sweetness. In Part 2 of this tip, we are going to explore Flavors. Let’s see how flavors can impact your method for making hard cider.
Flavors:
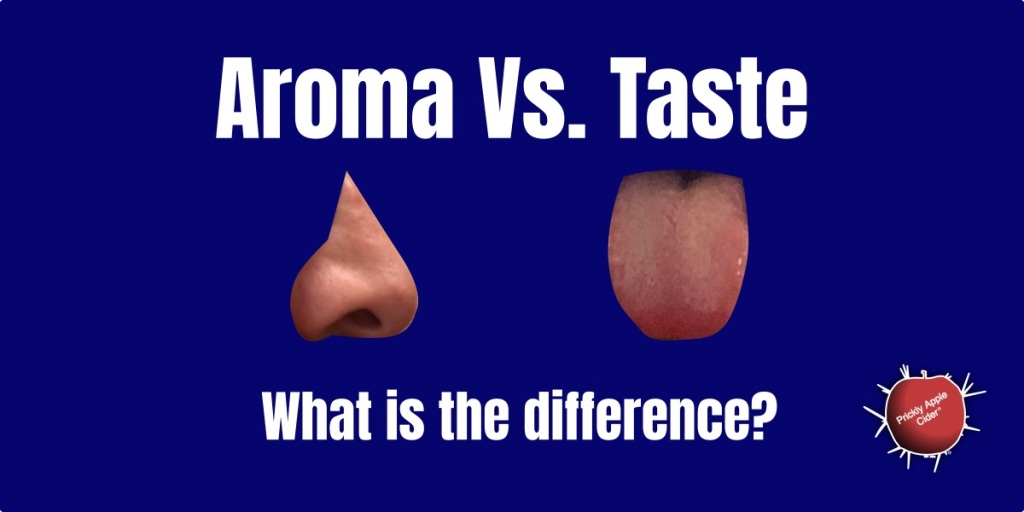
Flavors and aromas, which I include given how our sense of smell defines our taste, are limitless. These flavors come from a multitude of ingredients and methods used in making your hard cider. However, to put some structure around this discussion, I like to think of hard ciders in three styles or categories. I define these in detail in my book as well as the methods to make them. These style categories are Traditional, Adjunct, and Dessert. My definitions for these styles are the following.
- Traditional: Made from apples and/or pears without any other fruits or adjuncts that impart color, flavor, or aroma.

- Adjunct: Hard ciders made with anything not an apple or a pear that impart color, aroma, or flavor.

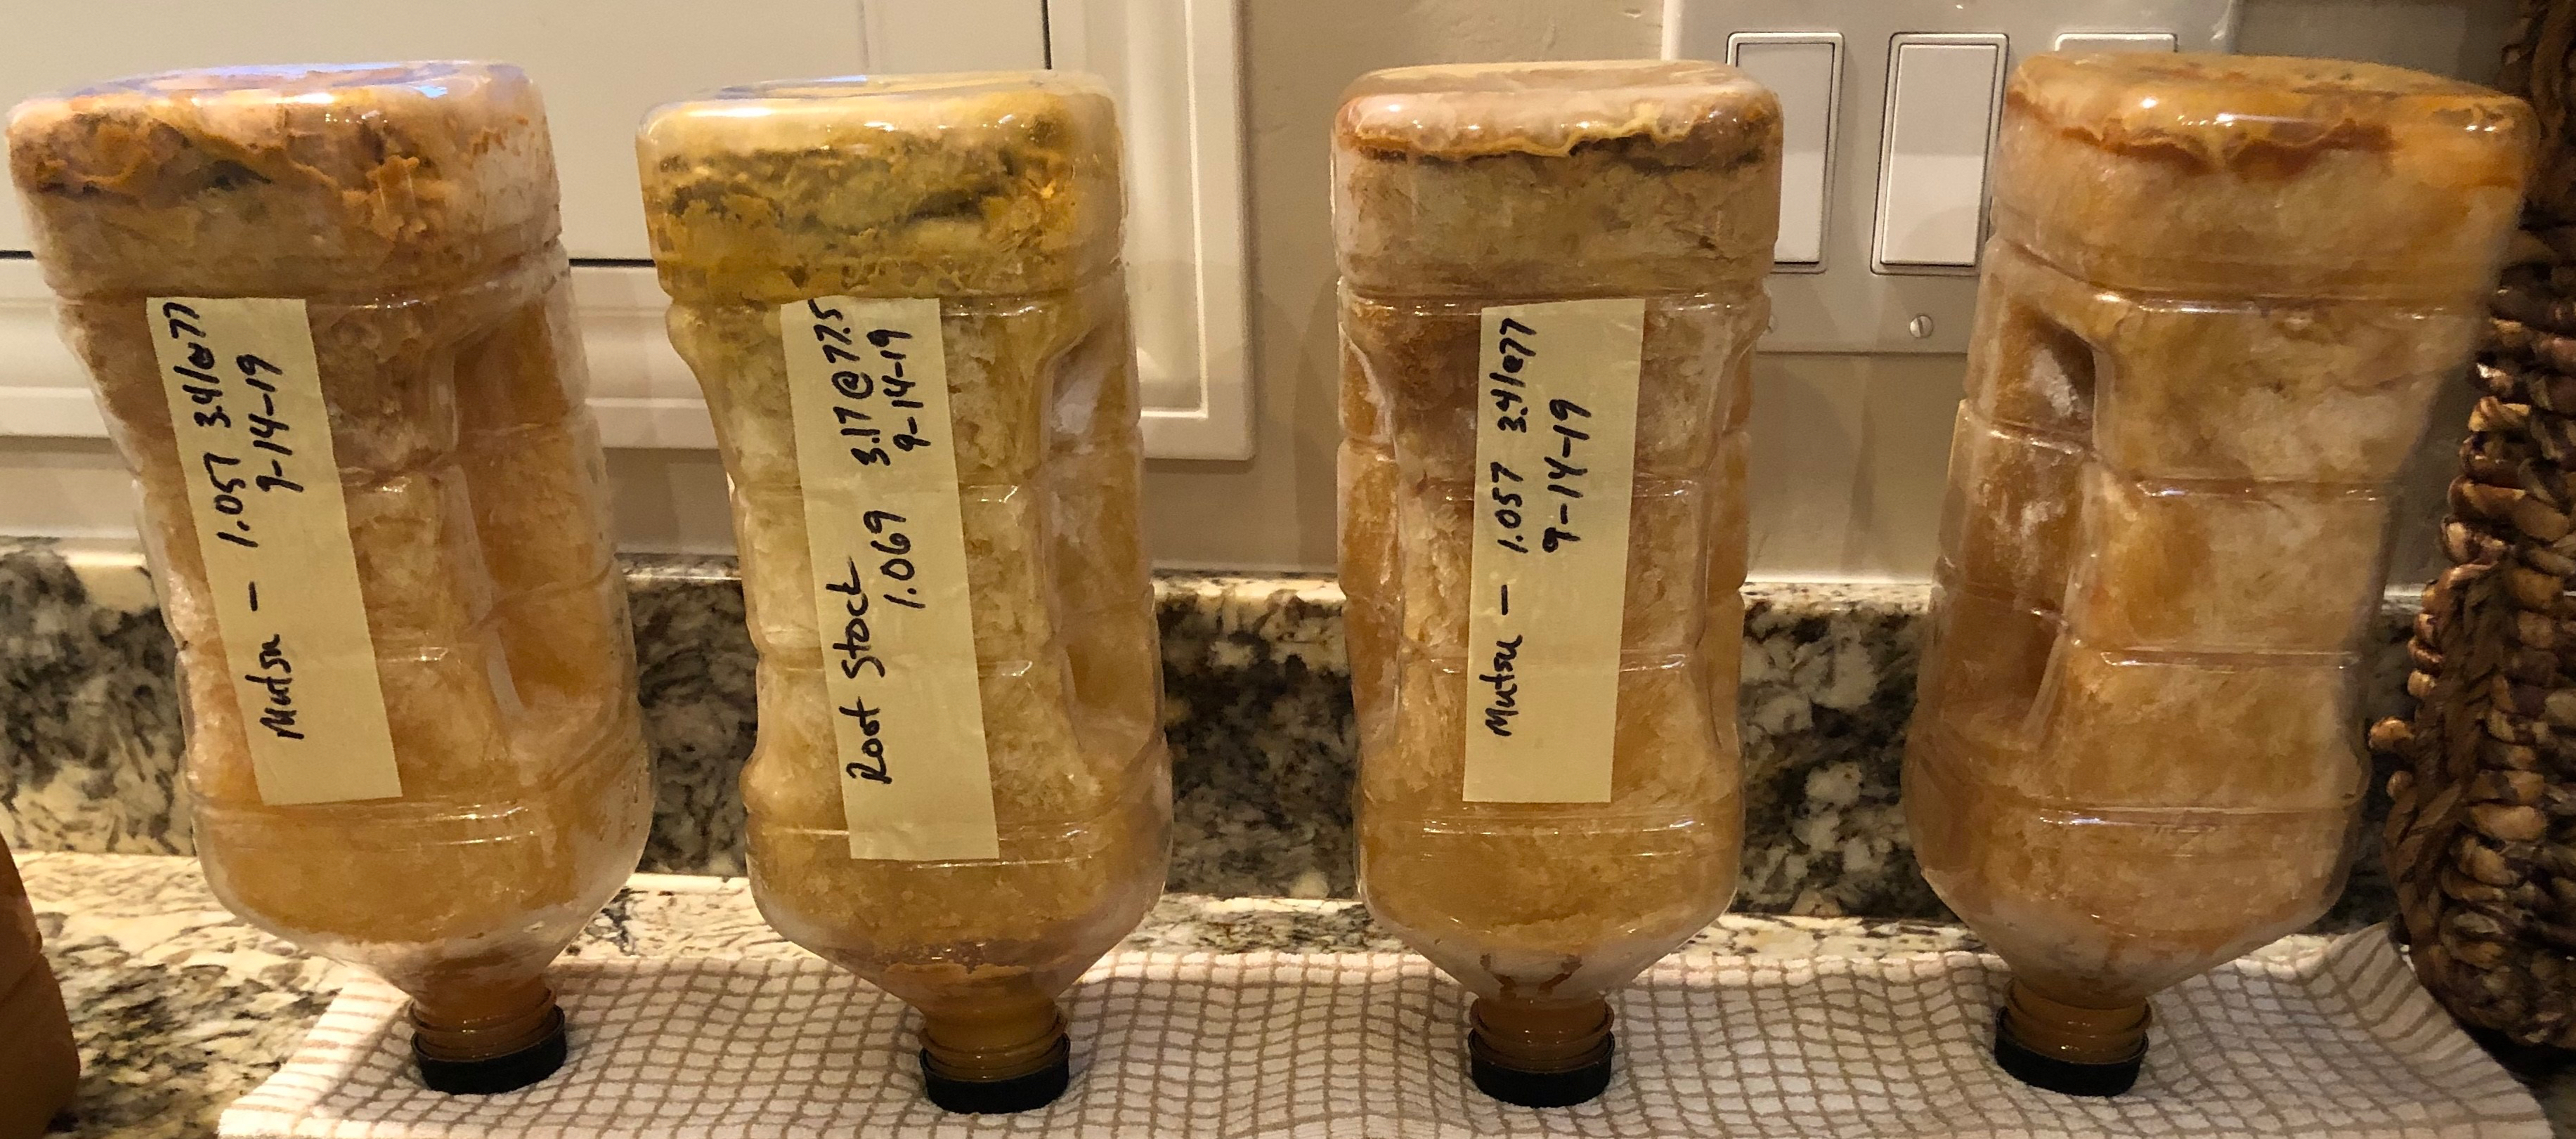
Example: Adjunct Hard Cider
- Dessert: Hard ciders made with a high level of alcohol, regardless of what adjuncts are used. From a government regulatory perspective, these often would be fruit wines, but for the home hard cider maker, we will call these Dessert ciders.

You will notice that I didn’t talk about carbonation, yeast, or even the types of apples or pears. For me, these three high level styles allow me to focus on the flavor profiles and methods needed to make them without making it too complicated. While the methods can overlap, they each have some elements that are unique. If you only want to use apples or pears, your approach to making cider will be slightly different from adjuncts. You will want to focus on the apples and pears used along with the yeast. If you enjoy adjunct hard ciders, the apple and yeast are joined by the adjunct in importance. In fact, the adjunct may even surpass them. Dessert ciders will make you consider methods for increasing the %ABV, of which there are quite a few. You may not realize it but those process will also impact the flavors. Identifying the hard cider you want to pursue will help you develop your method for making this hard cider as well as the equipment you might need. Let’s look at each style and the methods to make them.
Traditional:
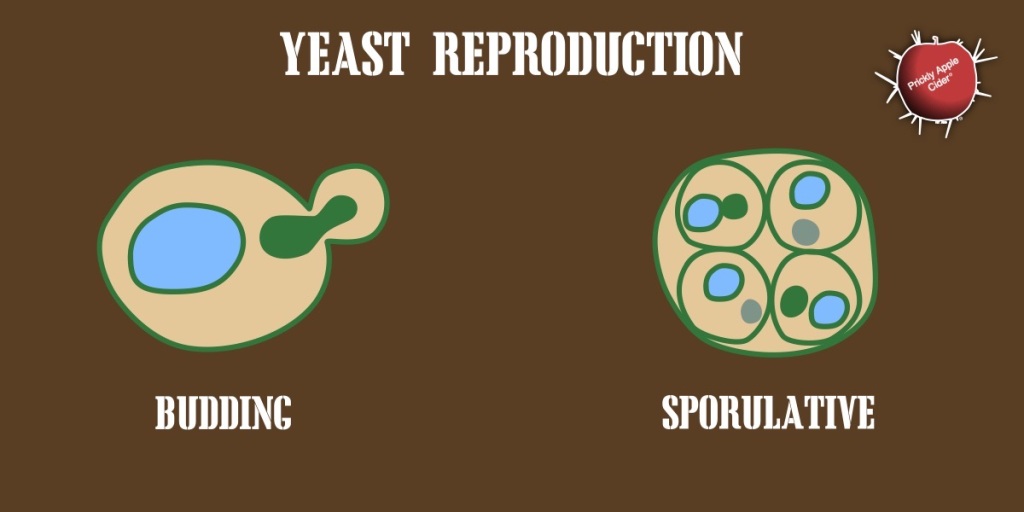
This is all about the fruit and the yeast, so picking them are critical. You need to measure sugar and acid but you also need to assess the tannins in the apples as well as the aromatics of an apple. Your titration kit and refractometer are key pieces of equipment, but so is your palate. Tasting apples and their skin to assess tannins is important. Understanding yeast, whether wild, wine, ale, lager, or a mix is also important because it has such a big impact on the flavor profile. That means download the yeast data sheet from the maker and do some trials. You also need to think about storage. Storing in or with wood would actually move your hard cider into an adjunct style because you will be adding flavors, aromas, and color from the wood. That means stainless, glass, or plastic should be your storage containers of choice. You also need to consider whether you want sour elements in your cider and how your storage methods can support or eliminate that.
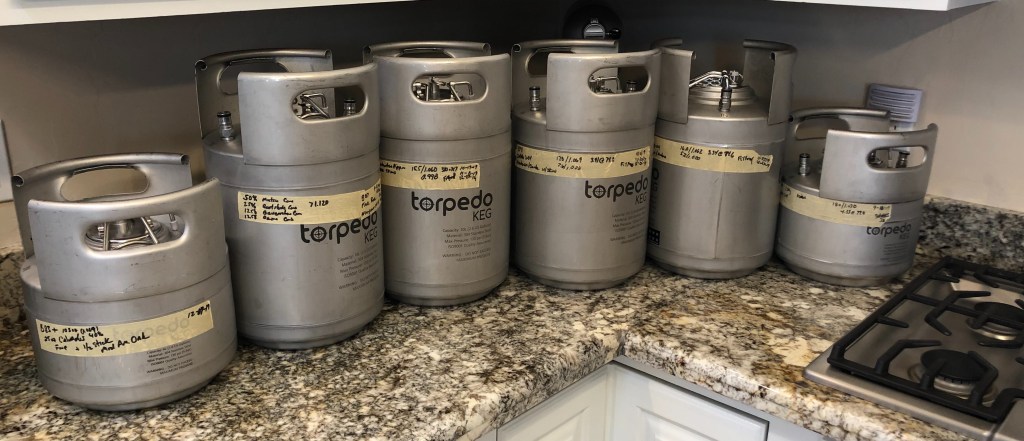
If you want a very controlled storage environment, stainless steel kegs would be the best approach because you can regulate oxygen exposure and reduce exposure to potential contaminates. While many commercial cideries use stainless tanks, many home cider makers can do this as well through reasonably priced kegging systems and ball lock kegs (corny kegs). These are the kegs used in the restaurant industry for soda. Kegs along with a CO2 tank and regulator will require a more substantial investment, but it also supports making all styles. Amazon and fermentation shops will have kegging systems, but don’t forget to check out the classifieds for good used systems.
You can also use glass or plastic and that can be a great low cost option but it will be more challenging to control oxygen exposure. However, if some acetic fermentation (some sour notes) is what you enjoy and want in your hard cider, it may also be a perfect option. You can maintain more control over your hard cider without using kegs by using glass through bottle aging. Instead of storing and aging in large containers, you could package your hard cider and store in bottles. This will limit oxygen and avoid the long term permeation of oxygen that plastic has. However, it limits your flexibility to make changes to your hard cider. That only matters if you are interested in flexibility. Again, if you have a couple traditional styled ciders that you love making, having an expensive stainless steel kegs might not make a lot of sense. For large volume storage, plastic will be your cheapest option, and you can find many storage and fermentation options at a fermentation shop. However, you can get food grade totes from various sources. Just make sure it’s food grade and was not used for something that would leave an aroma you wouldn’t want in your cider. Getting garlic or motor oil aroma out of a food grade container may not be worth the effort.
Adjunct:
While the apples and yeast you use are critical, Adjunct ciders are all about the adjunct. Your goal is to infuse flavor, aroma, color, or other elements into your hard cider by fermenting, adding, aging, or otherwise combining something that isn’t apples or pears into your cider. The options are literally endless, but they commonly include ingredients like the following.
- Oak, hickory, or other wood through barrels, spirals, cubes, or chips
- Hops, rhubarb, and other vegetables
- Citrus, stone fruits, berries, or other fruits
- Cinnamon, cloves, star anise, vanilla, and other spices
The methods used to include these limitless adjuncts are also vast. Some of these methods require special equipment but often adjuncts can be successfully included in numerous ways. Ultimately, there are no correct answers or methods. Personal palates are the judge of what matters. For example, if you like more bitter characteristics (tannins), you should try boiling adjuncts and this often releases more of the tannins. Let’s explore the methods you can use to add flavors and some of the benefits and challenges.
Primary: This is the method of adding the adjunct with your apple juice as part of the primary fermentation process, Any adjunct can be included in the primary fermentation process. If your adjunct has sugar, (i.e. fruits and most vegetables), you need to remember that these sugars will ferment just like your apple juice so you have to decide how you want to deal with that sugar and the impact fermenting it will have. I often include high sugar fruits and strong flavored adjuncts like citrus, cherries, plums, and apricots in my primary. However, this will change a lot of the aromas and flavors, just like it does for the apple and pear juice. There really isn’t any extra equipment needed when including adjunct in the primary fermentation. You juice, press, or add them to your apple base and let the yeast work. Remember that including them in the primary will tend to have to most dramatic change in flavors. Even adding wood to your primary will have a different impact than adding it to your secondary because of the chemical reactions that are occurring. Whether you use a bucket, a glass carboy, or a stainless steel fermenter, your primary additions go in together. If you use it for your apples, other fruits will also benefit from pectic enzyme that is added to extract more juice and aromas.
Secondary: This is the method of adding adjuncts after primary is complete. Normally, you would rack your hard cider off the lees into a storage container and add the adjuncts. Like with Traditional hard ciders, you usually want to avoid oxygen exposure and avoid aging on the lees. Kegs offer a great option but you can use carboy or plastic. They just aren’t as convenient for minimizing headspace. If your adjunct has sugar, secondary could be an actual second fermentation cycle, or if there isn’t added sugar, it may just be an aging process where chemical reactions continue. Remember that unless you remove, kill, or suppress the yeast in your hard cider, it will try to consume any sugar you add. For example, I add fresh raspberry juice to create my Rock’n Raspberry hard cider. It’s not a lot of juice but I don’t want it to ferment out. Therefore, I filter this sterile immediately after adding to remove the yeast and any bacteria to stabilize it. I then force carbonate it because that is the only option to carbonate my hard cider once the yeast is removed. This method requires a keg and filter system, which are available from fermentation shops and Amazon.
If you are using adjuncts without sugar, your only concern is really oxygen. You can add the adjunct as part of the secondary in various forms. For example, you can make a “tea” out of the adjunct by heating it in water and then straining the tea before adding it to the cider. You can also “dry hop” the adjunct. This is where you put the adjunct directly into the cider either by dropping it in or by adding it to a “hopping” bag or mesh. There are benefits and drawback to both. If you dry hop, it’s often good to have a mesh bag, tea bag, or something to place the adjunct into the cider for aging. These can be found at Amazon, fermentation shop, or even your grocer. You can drop them in directly but some adjunct can be hard to remove. It’s always good to have a stainless steel kitchen straining that you can use to remove larger adjuncts for teas or when place directly in the cider.
Dessert:
The last style is Dessert hard cider (or in some areas they are legally wines). While these could be made from only apples or pears, they could also be made with any adjunct. The main characteristic is that the the alcohol level has been increased substantially. This style can impact the methods and equipment that you would use to make your hard cider. The three main methods for increasing the alcohol level are Sugar Concentration, Chaptalization, and Fortification. Let’s explore each of these.
Sugar Concentration: This process could be done by boiling juice but it will definitely have more impact to flavor. The method I recommend and employ is concentrating the juice through freezing. By freezing your apple juice and then partially thawing it, you increase the concentration of sugars, acids, and other compound found in your juice. I often reduce my volume by about half, which would almost double the concentration of these elements. This could make a juice with a specific gravity of 1.050 and increase it to 1.100, raising your ABV potential from 6.5% to 13% for your hard cider. However, it’s just not sugar but also acid and flavors that become concentrated as well. If this is a method you want to pursue, you need some equipment. Most important is a freezer. Some freeze the apples and press them. I freeze the juice and thaw it. You don’t want to freeze juice in glass or stainless so you really need some plastic jugs. I use 1/2 gallon jugs from Amazon but you could also recycle some juice containers.
Chaptalization: This is the second method for increasing the alcohol level of a hard cider. Chaptalization simply means to add sugar to your juice to increase the alcohol. Many people simply add granulated white sugar. This will increase the potential ABV but it doesn’t add much flavor. If you added honey, molasses, or brown sugar you would chaptalize the juice but also add flavors and aromas. Many people will add sugar to increase the potential ABV above the tolerance of the yeast they use. For example, SafAle S-04 has a tolerance of 12% alcohol before the yeast start to die. If you chaptalized your juice to a specific gravity of 1.100 and used SafAle S-04, you would probably get a cider round 12% ABV and 0.008-0.010 points of residual sugar. This is a way to make a sweeter cider but you also are drinking a much stronger beverage. Chaptalization doesn’t require any special equipment.
Fortification: This method of increasing the ABV is done by adding spirits to your cider. Pommeau is a drink made by fortifying apple juice with calvados, which is an apple brandy. Not many people talk about fortifying ciders but we have been fortifying wines for ages so why not cider. This is a way to leave some naturally residual sugar. Just like you can add more sugar than your yeast is capable of processing because the alcohol kills it off. You can also add the alcohol to stable and kill the yeast. Again, you have to know the point where your yeast will die off from alcohol intolerance. In this case, you will add the alcohol when you want to stop the fermentation as you will immediately increase the alcohol level. This means you have to assess how much residual sweetness you want and add the alcohol during the primary ferment at that point. Fortification doesn’t require any special equipment, but you would be well served having a Tilt Hydrometer so you can actively monitor your specific gravity and know when to act. If you don’t have this, you will be guessing at when to add the spirits to stop the fermentation.
Did you enjoy part 2 of this 3 part series series? Don’t forget to follow me to get the final part where we talk about carbonation and how it can I mpact your method for hard cider making.
It is that simple and there is no catch. I’m not going to sell your email or bombard you with unwanted requests to buy things. It will also give me a way to respond if you have questions about hard cider or need help with a batch. Stay safe, drink cider!